
DIY Hood Range

I'm excited to share this project with you! When we bought this house, we had a standard range hood over our stove, and I absolutely hated it. Knowing that custom hood ranges can be very expensive, I immediately went to pinterest in search of some DIY ideas. I found several posts that were very informative, but this one from Home Talk was the closest to what we were looking to do. We determined that the easiest (and least expensive) way to update it was to "cover" the existing hood, rather than replacing the entire thing! The home talk link above is a great step by step resource for instructions on how to do this. We purchased our supplies from Home Depot and went to work.
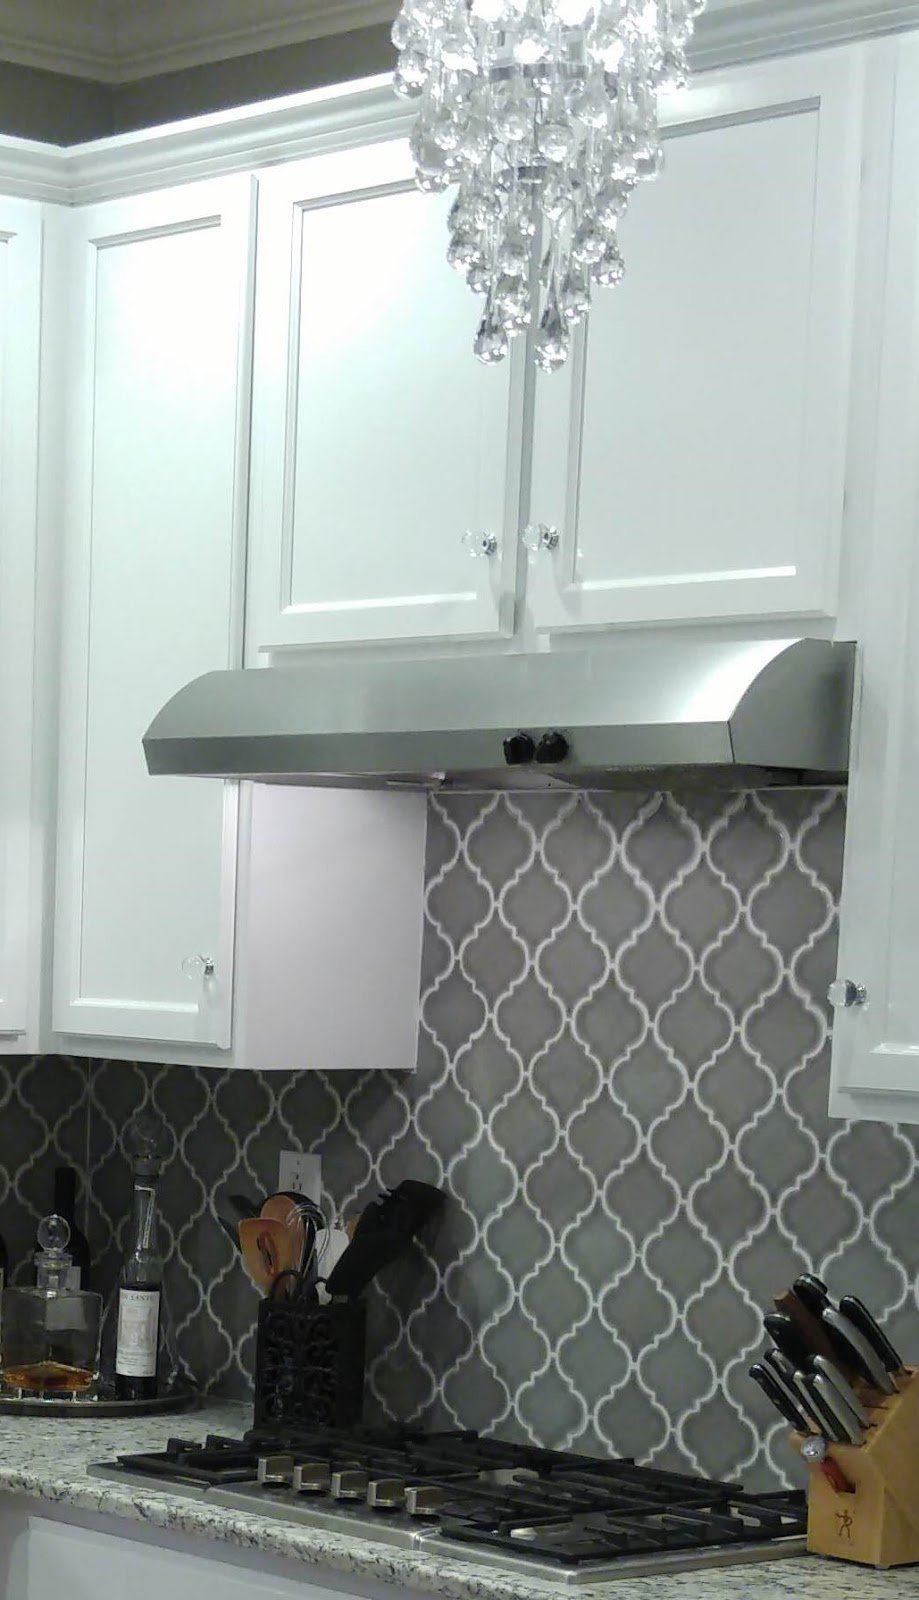
This is the original hood range with upper cabinets. It looked fine, but I wanted something more substantial.
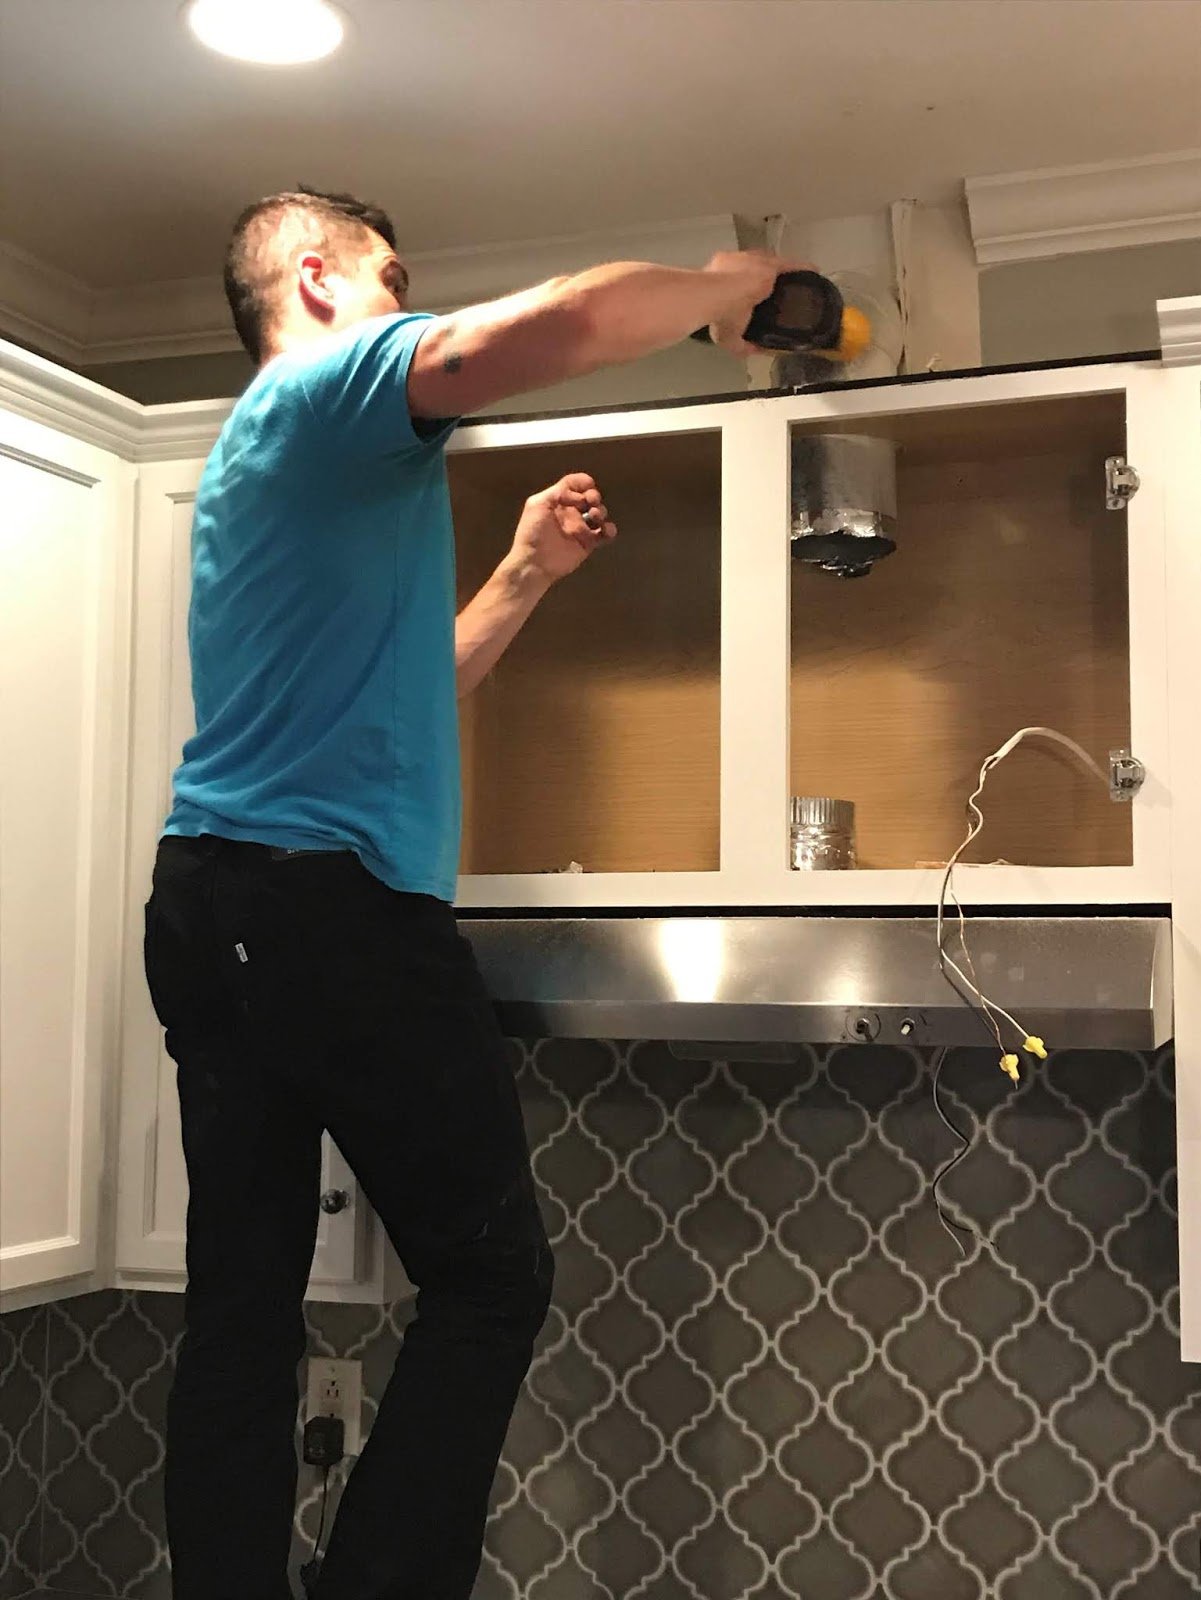
Hubby removing the existing cabinets to make room for the new range cover.
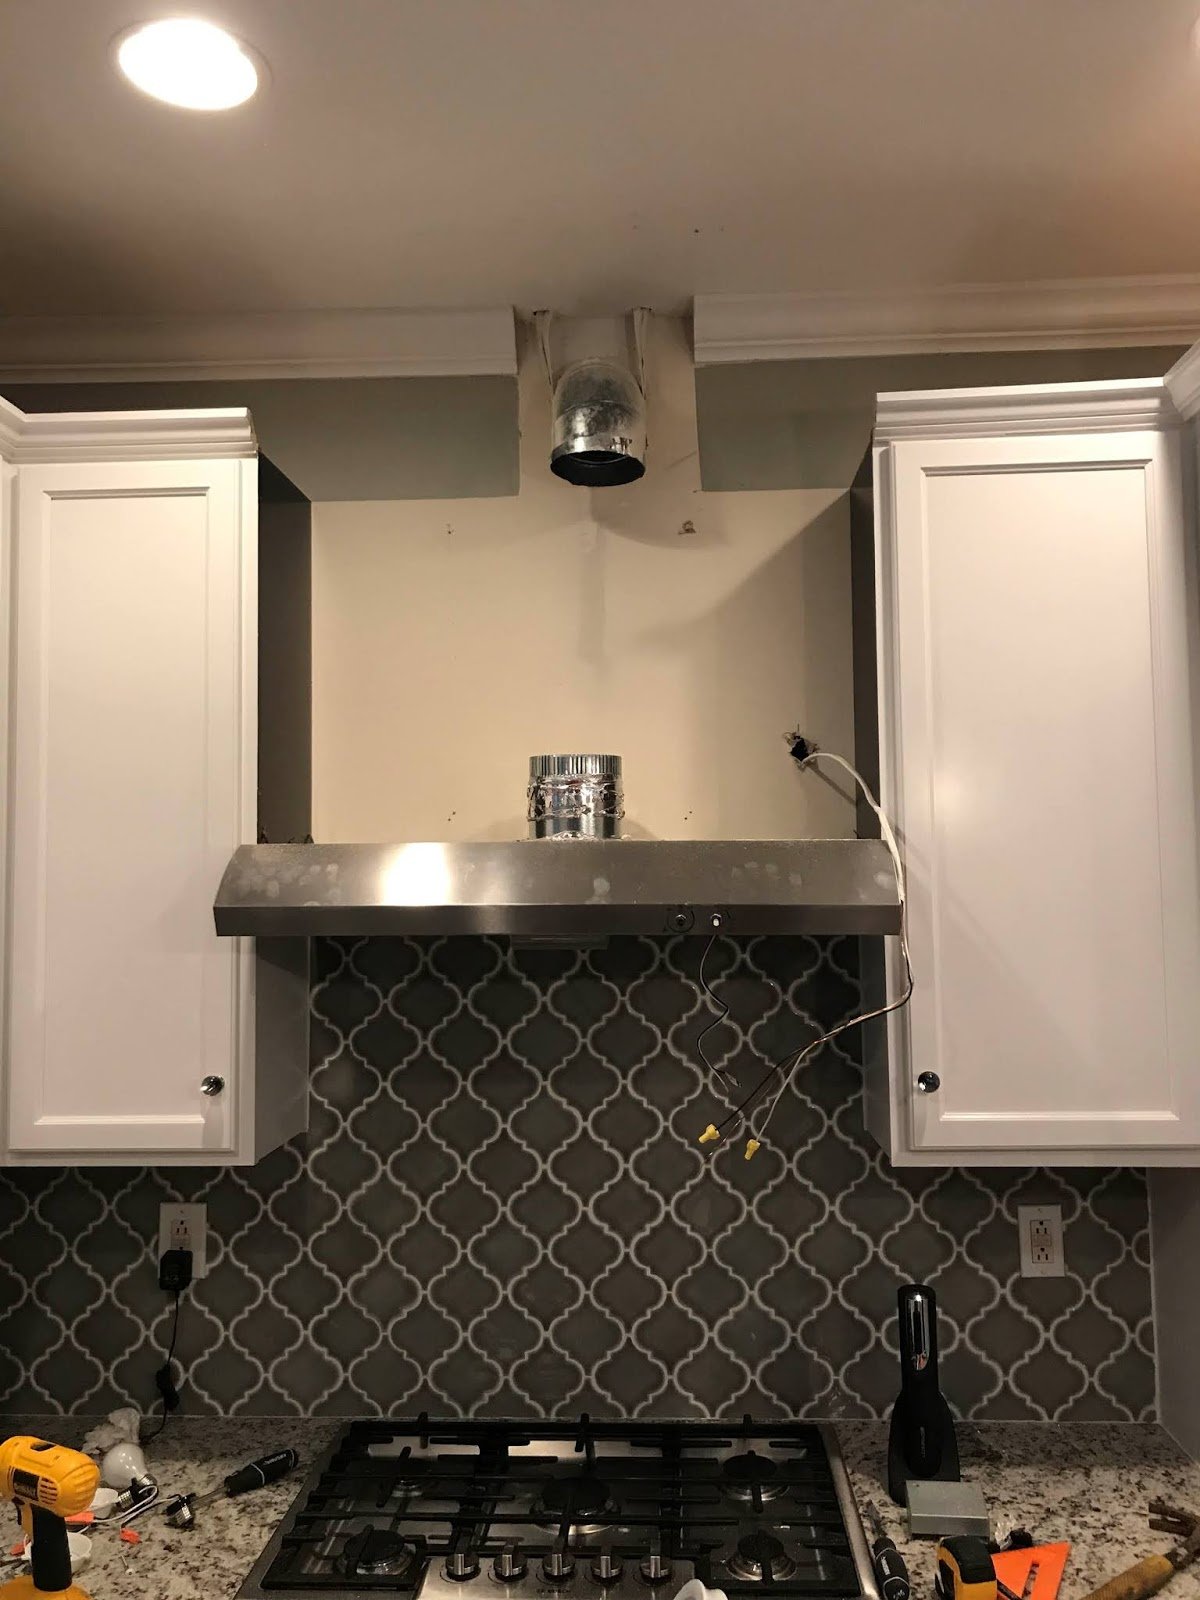
This is the empty space where our new hood cover will go.
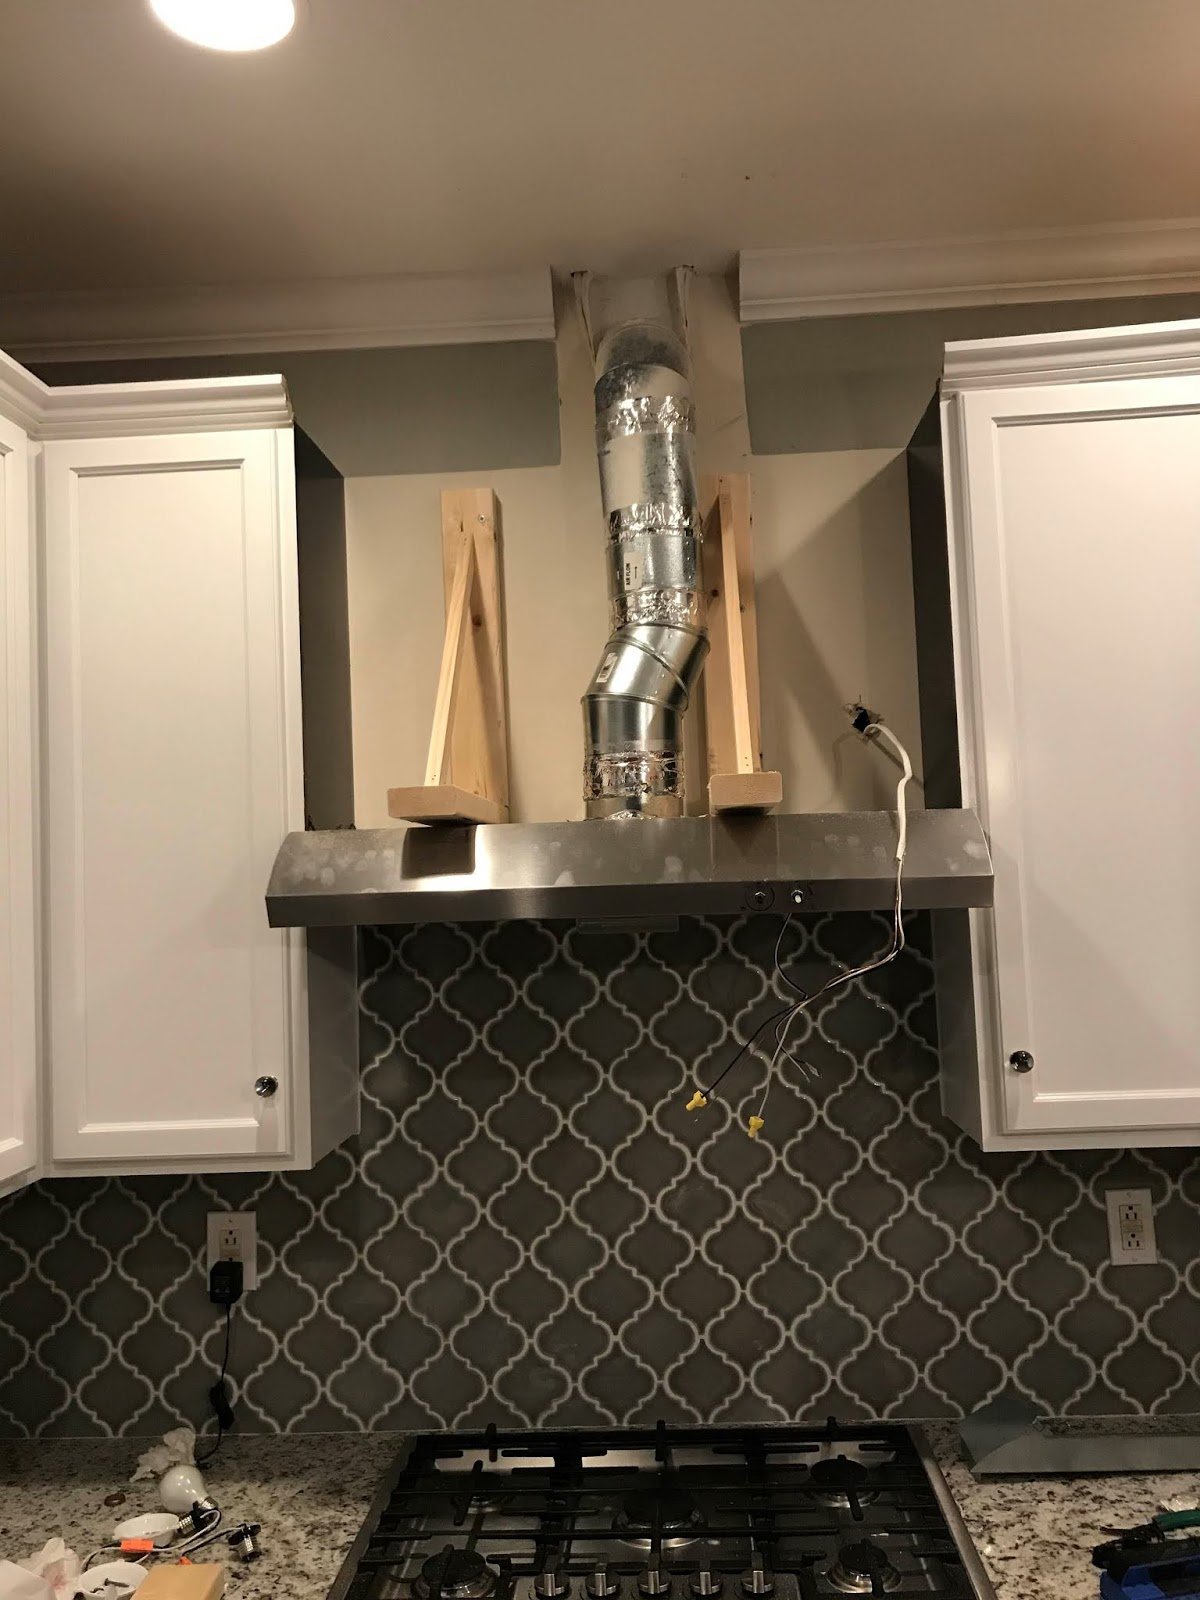
Support beams where added and the vent tube was reconnected. Notice how the original vent is still there, we are going to cover it up.
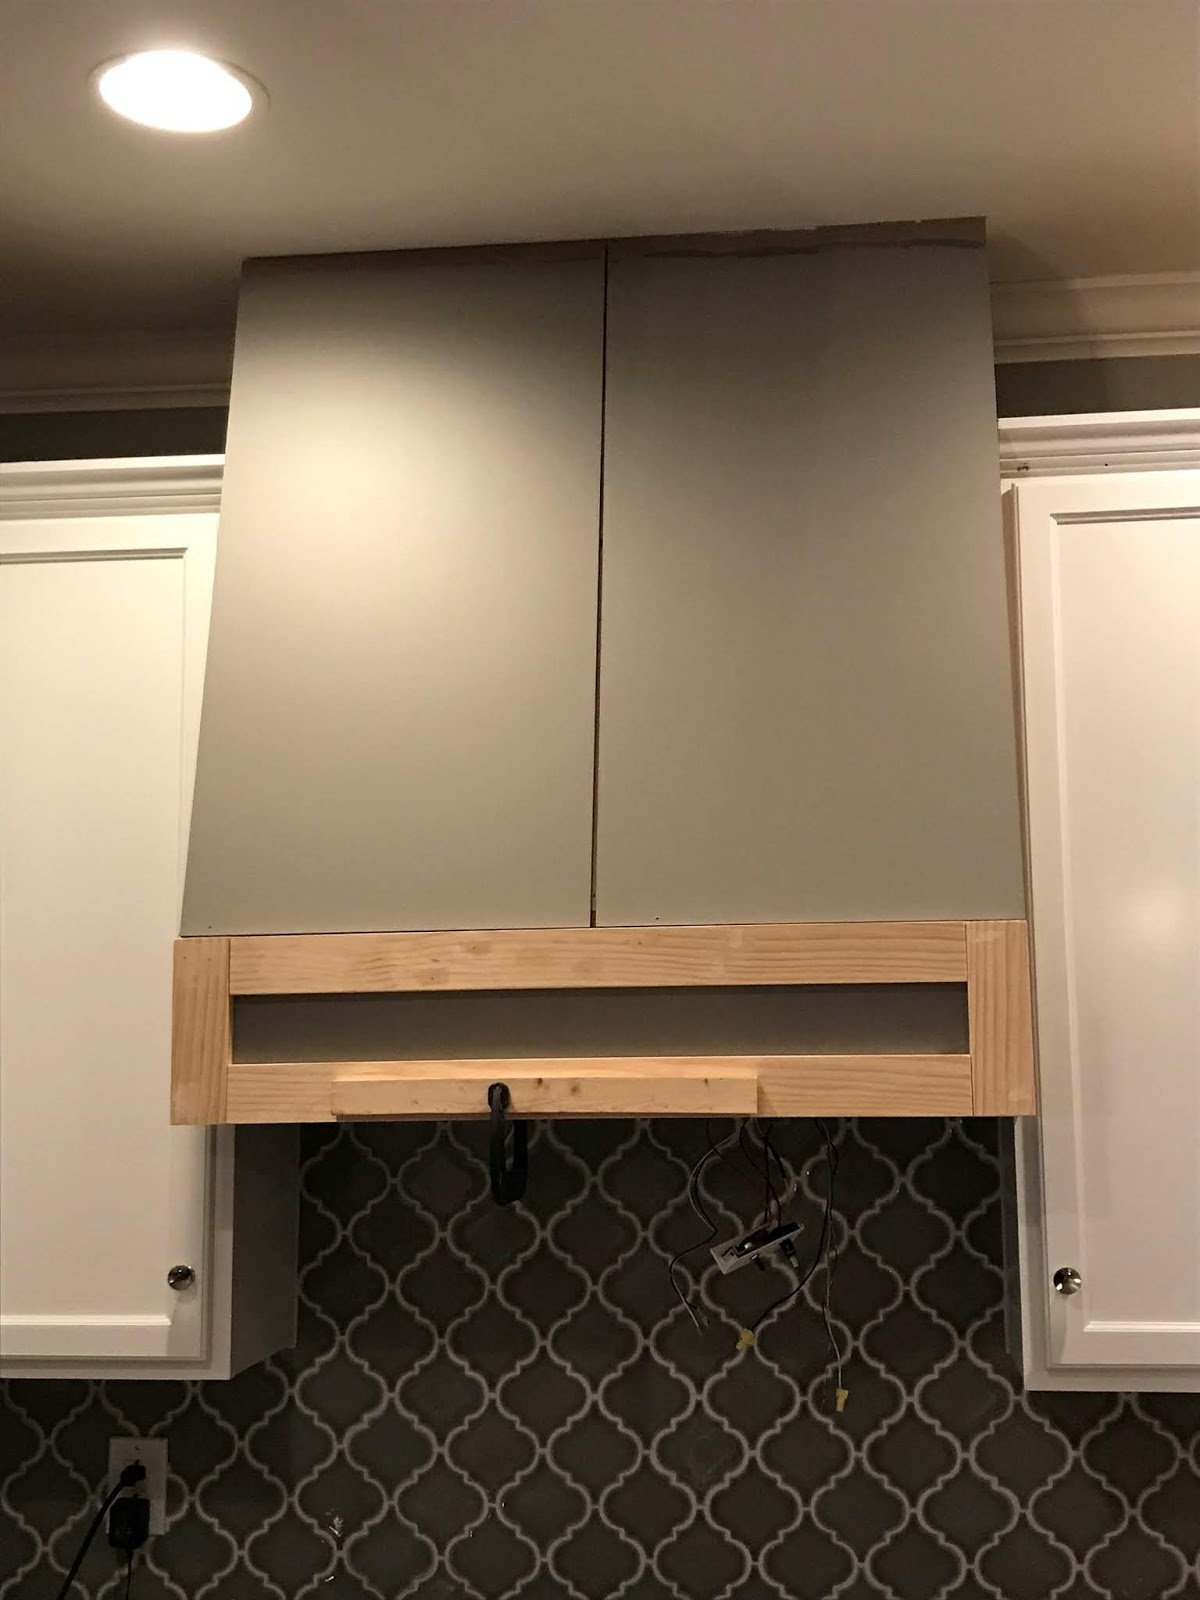
We then added the MDF panels and put wood "shaker style" molding on the front.
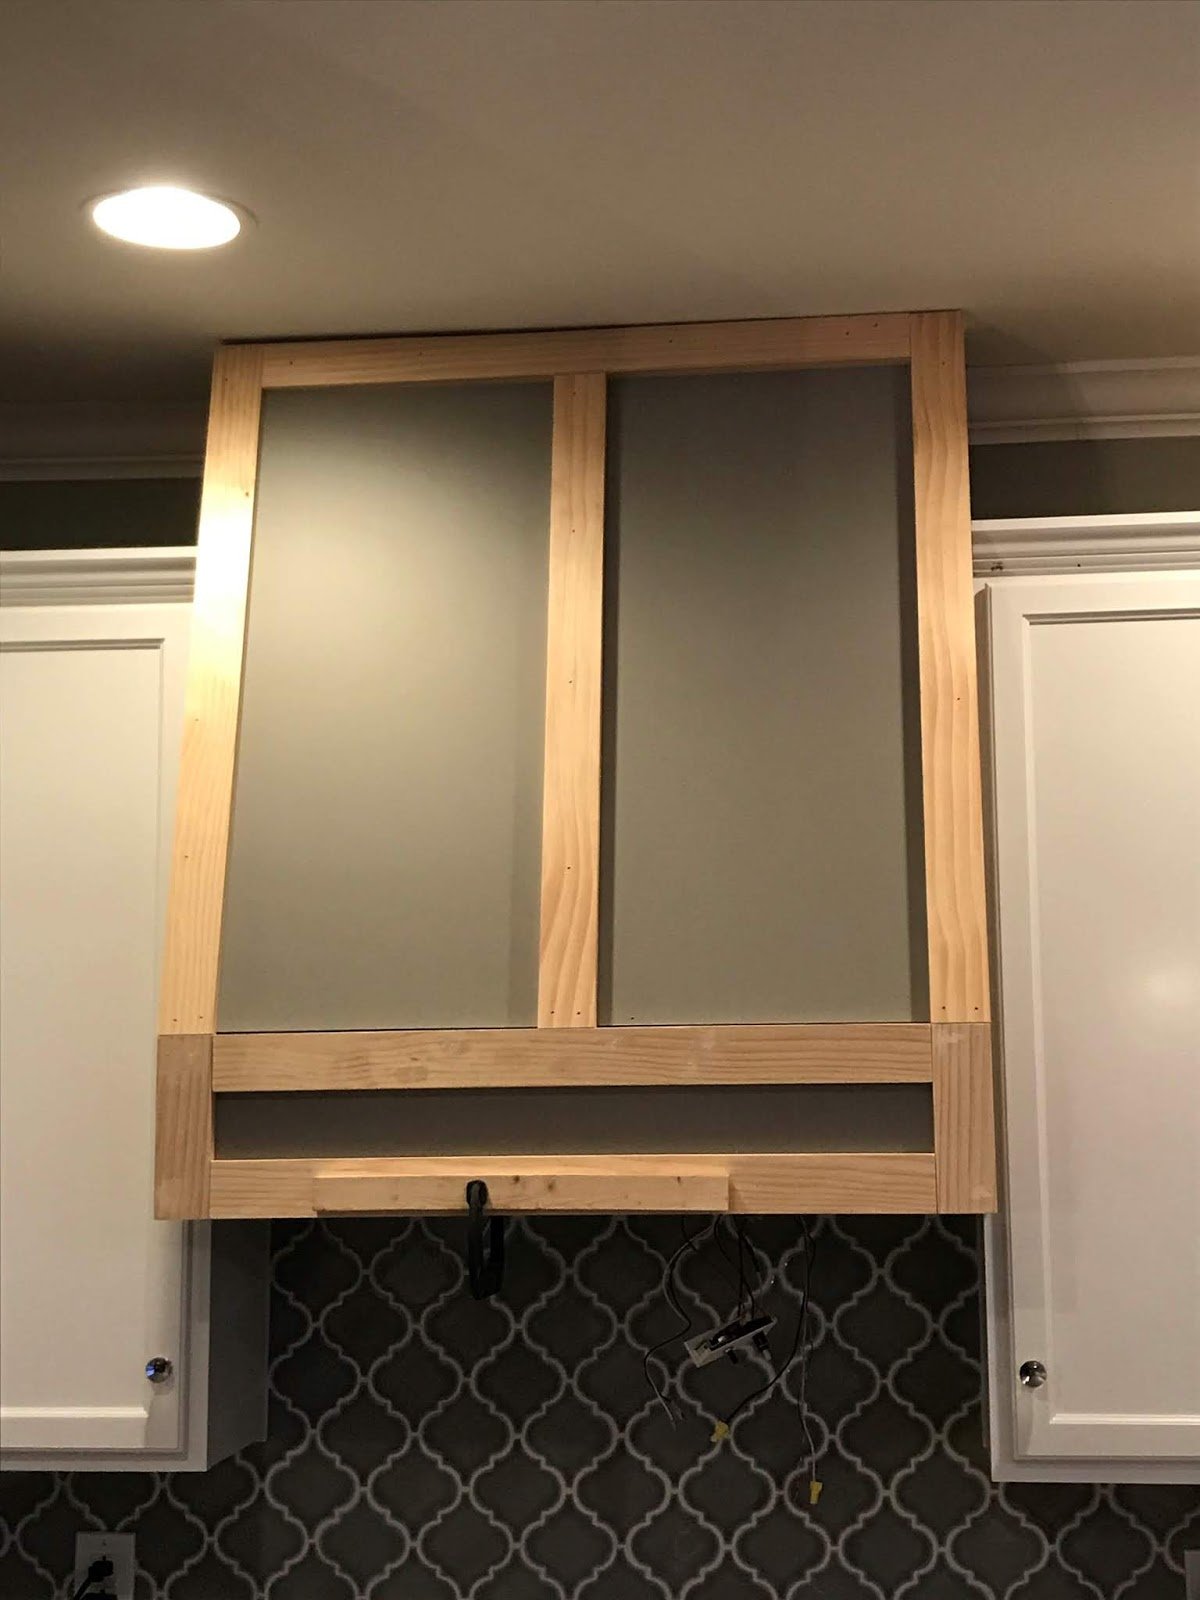
Shaker style molding was then added to the top.
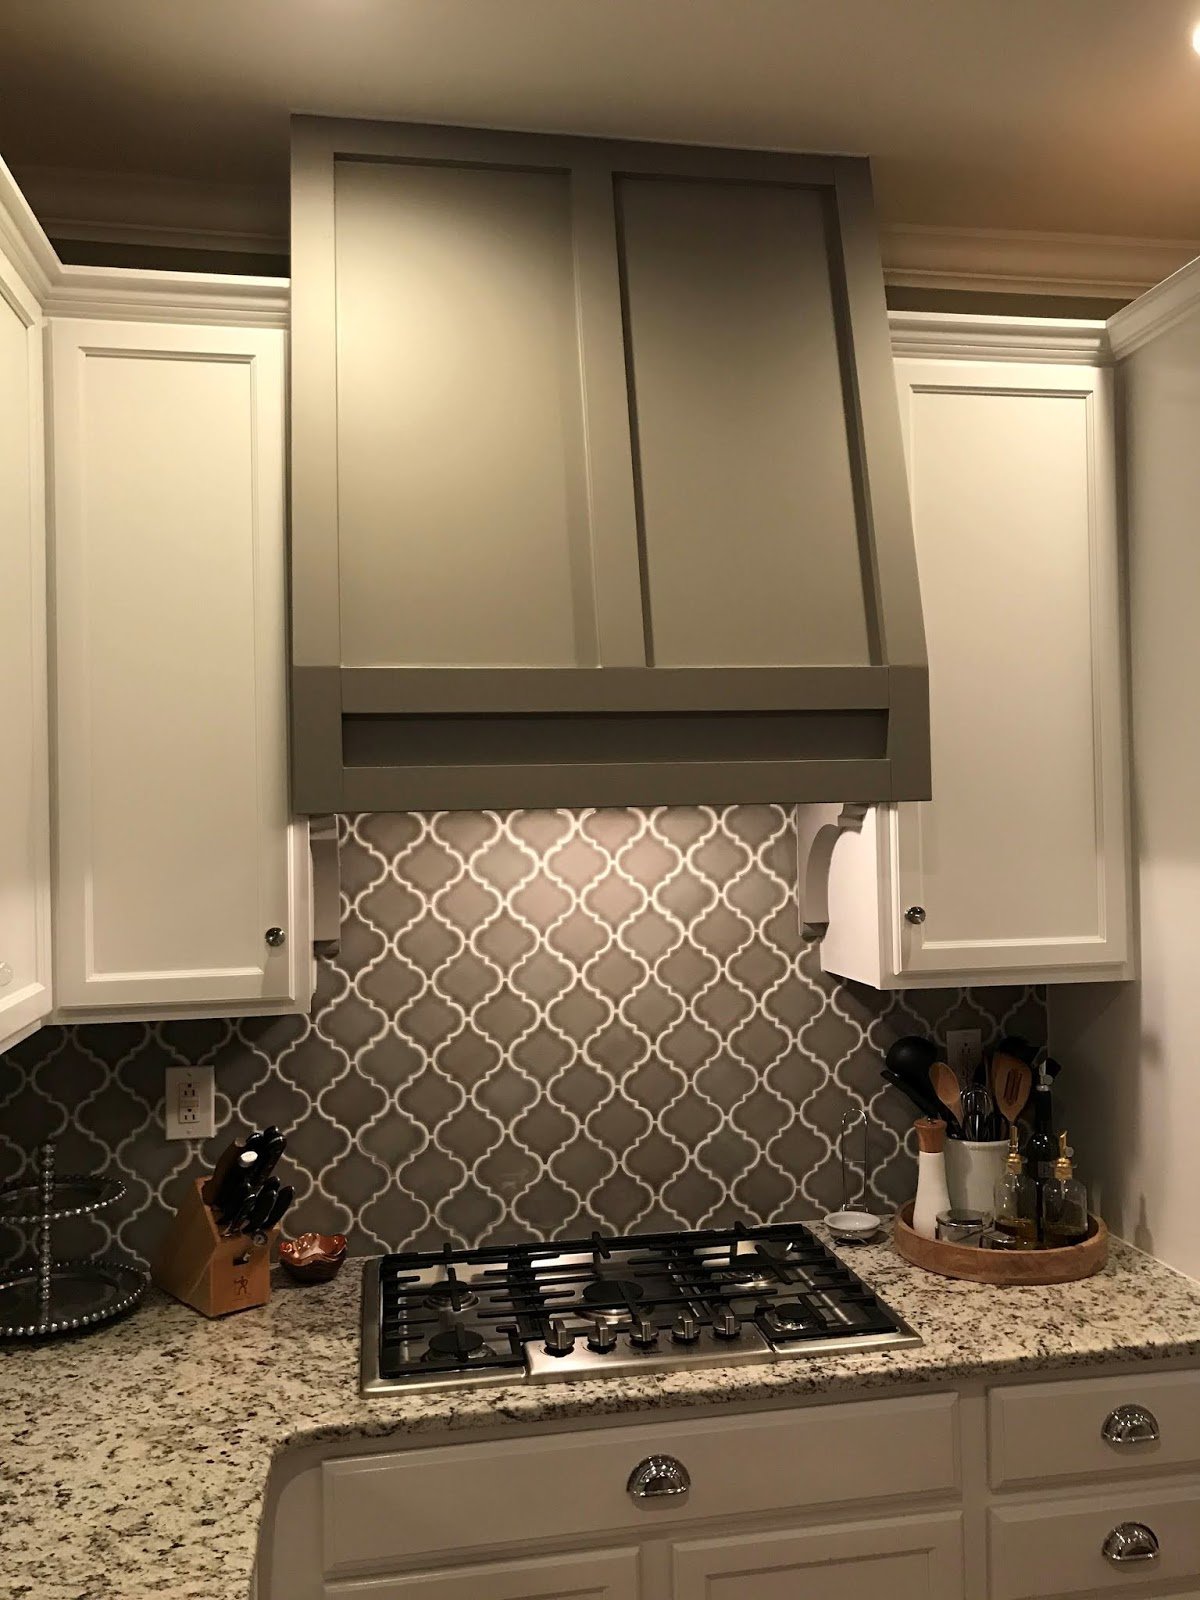
We finished it off with a fresh coat of gray paint to compliment the backsplash. We also added corbels on the bottom, to give it a more polished look.
What do you think? Would you ever attempt a project like this? If you have any questions, please leave them in the comments below! If you've enjoyed this post, be sure to pin it, so you can easily refer back to it later!