
DIY Tufted Headboard
I am so excited to finally share our DIY Tufted Headboard with you. I’ve had many requests for this blog post, and I do apologize it took me so long to get this posted. I wanted to make it as detailed as possible, which required the help of my hubby because let’s be honest… he did most of the work. :)

Without further ado, here are the headboard instructions.

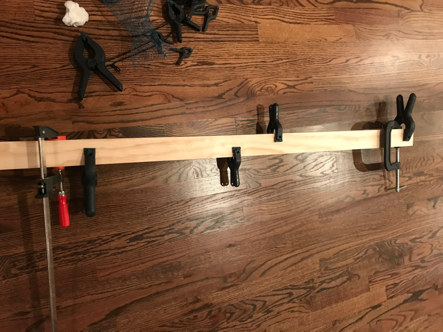
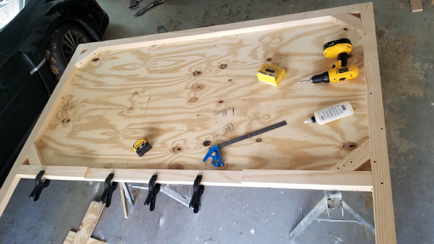
Supplies:1” X 3” pine boards (size may vary depending on the size headboard)4’ X 8’ Sheet of ½” plywoodSheet of pegboard (for marking holes)Wood glue, wood screws and clampsThreaded bolt inserts ¾” - 1” buttons¼” X 2 ½” machine bolts with wingnuts and washers6’ X 9’ Medium duty canvas drop cloth (or fabric of your choice) -Foam mattress topper (we used memory foam we had on hand, however, other foam can be used just ensure it is at least 3 inches thick)Decorative metal tack strips (we used 2 packs)Spray adhesive Polyester battingBuild:To begin, we built the beams for the headboard frame from 1x3 pine boards glued together to make 2x3 boards. This was done in order to match the size beams of the existing headboard since we would be tying into the existing bed frame.
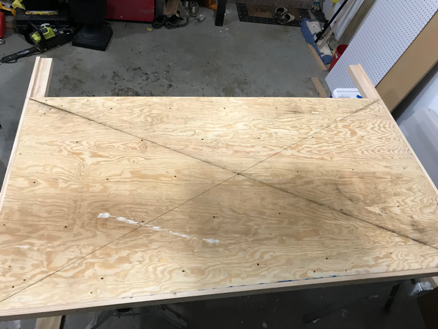
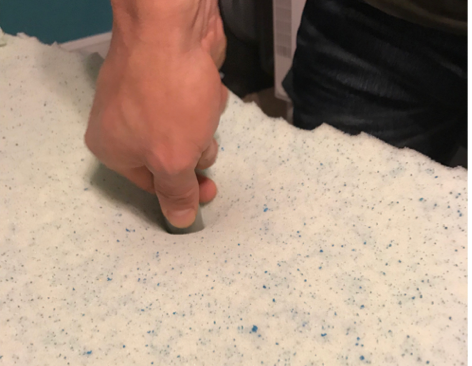
Next, to ensure all the holes would be evenly and adequately spaced, we used a sheet of pegboard to mark where we would drill. Depending on how much “tufting” you want, you can modify the spacing of your holes, the key is to make sure they are even. We moved ours around a few times in order to achieve the look we wanted.

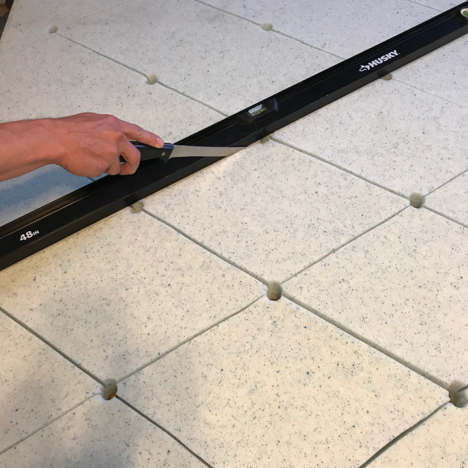
With the holes cut where the tufting buttons will go, a large straight edge is aligned to them and the foam was cut halfway through to the board. These cuts will make the fabric folds for the tufting.


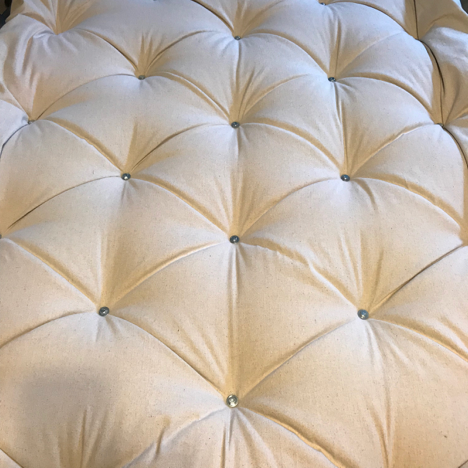
With all the bolts in place, we then pulled the fabric around the frame tightly and stapled it to the back. Buttons were then glued to the tops of the bolts. We used matching, fabric-covered buttons. However, any button would work provided they are large enough and have a flat back surface to glue flat to the bolt heads.

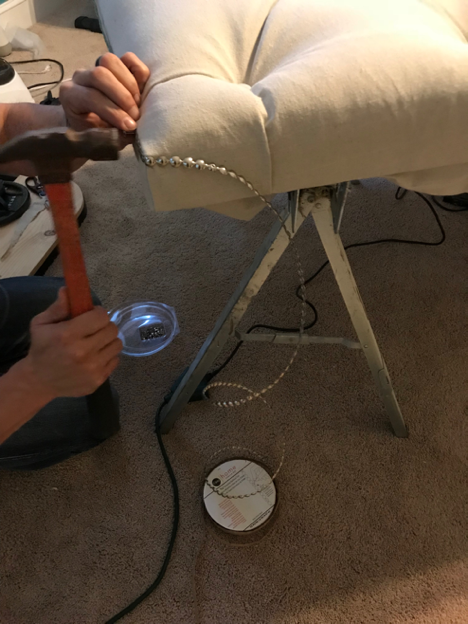
Decorative metal beading was then nailed to the edges for a finishing touch.
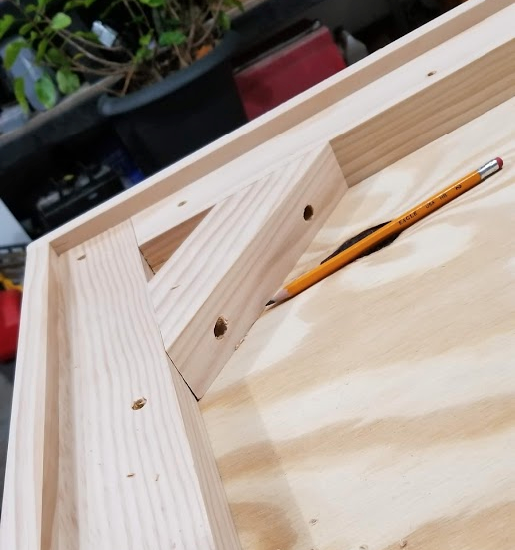
The next step was to prepare the legs to receive the bolts that would secure the headboard to the bed frame. Since we were using an existing frame, we carefully measured to make sure the holes were aligned properly so the bed would be level. Threaded metal inserts were then inserted into the holes for the bolts to screw into.

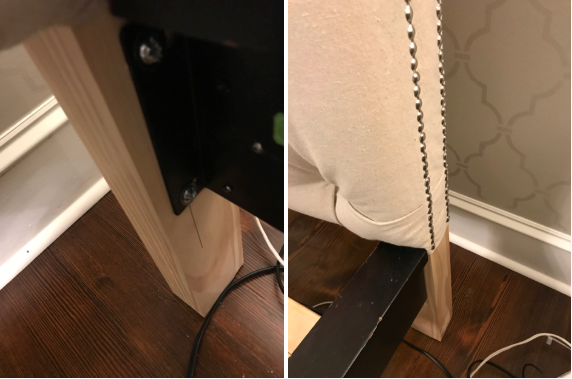
At some point, we will paint the existing bed frame and new headboard legs so they all match. But, since you can’t see any of it when the bed is made, it’s not high on our priority list right now.
Let’s take a moment to admire this beauty one more time :-)
I hope this post is helpful. If you have any questions, please feel free to post them below. We’d also love to see your headboard if you give this project a try. Please tag us on Instagram @revealmydiy.
Note: This post may contain affiliate links