
DIY Beaded Garland
I love the bead garland I am seeing all over IG and Pinterest, but not the price tag that goes along with it. So, I decided to make it myself :-)

Feel free to give this project a try and let me know what you think.
MAKE THE TASSELS:
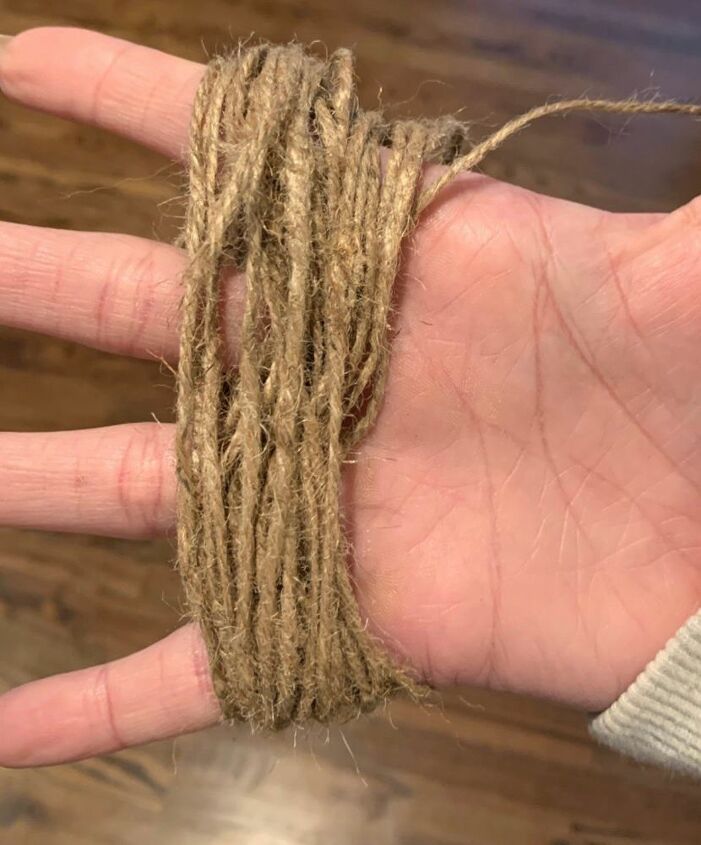
To make the tassel, wrap the jute around your hand at a wider point several times until you get it as thick as you would like.
BIND THE TASSELS:
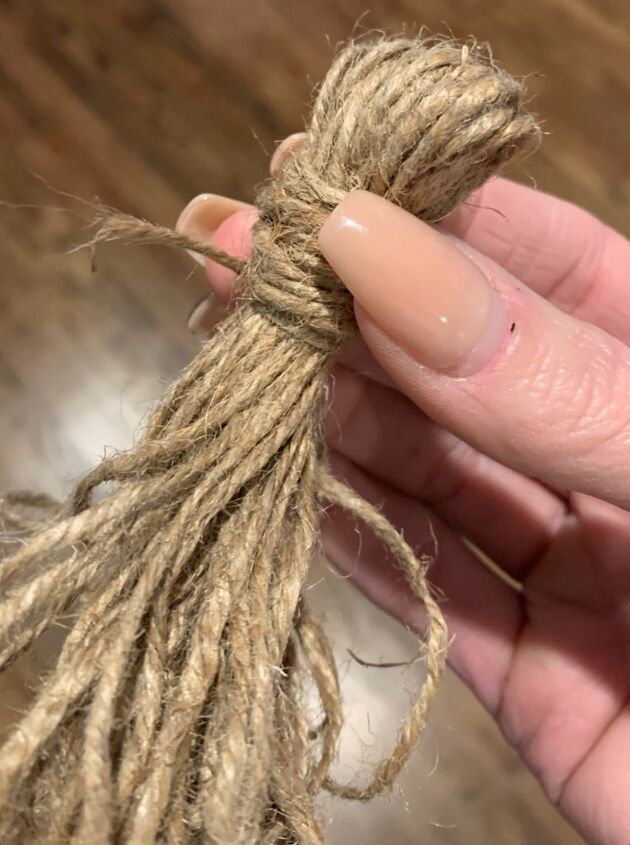
Once you have the thickness you want, slide the jute off of your hand. Then take another piece of jute and wrap at the opposite direction leaving some space at the top to connect your string of beads.
GLUE:

Once you have wrapped a good amount of jute in the opposite direction, add a drop of hot glue to hold it in place
CUT:
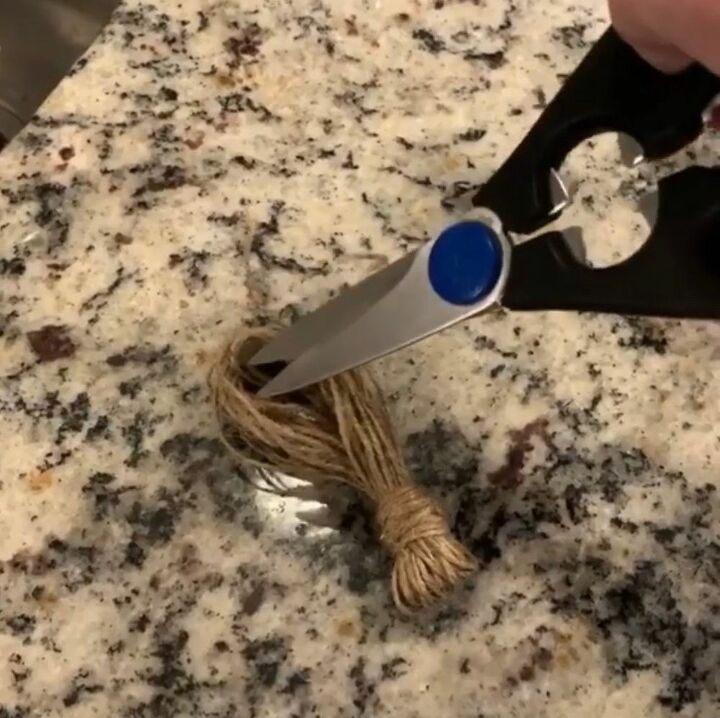
Cut the bottom loop of the longer side of the tassel so that it opens up.
STEAM (OPTIONAL):
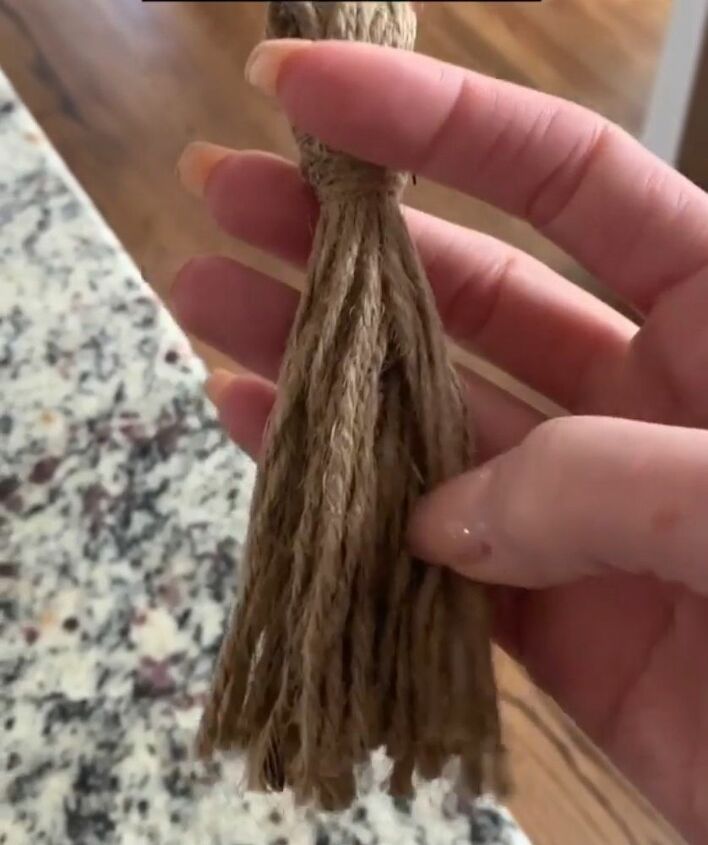
If your tassel is a bit curly, you can run a steamer over it to straighten it out.
STRING THE BEADS:
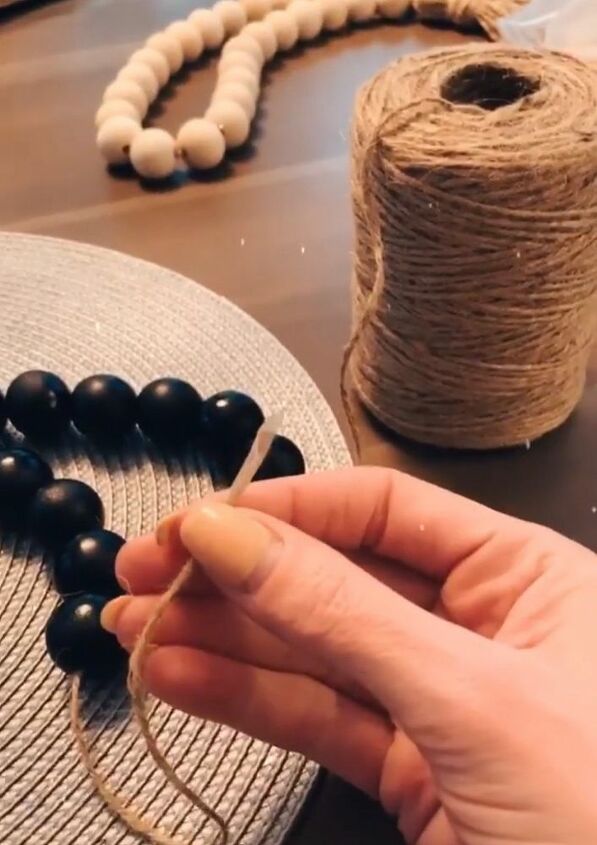
The next step is to string your wooden beads on another piece of jute string, and then tie that to the tassel. You can always add a tassel to each end if you prefer. I find it easier if you wrap the end with a small piece of tape (this will keep the jute from fraying).
TAH DAH! YOU'RE DONE!
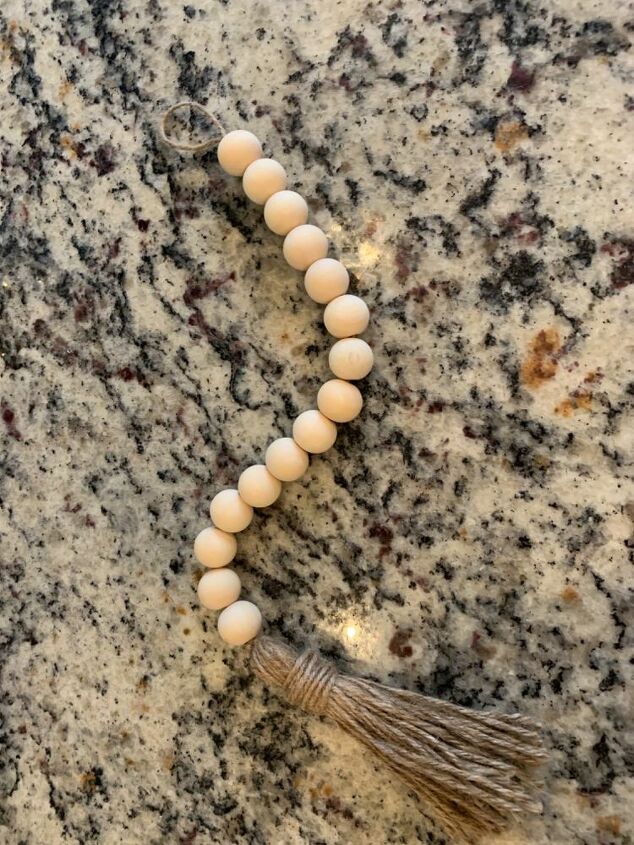
A few things to note: you can make your strand as long or as short as you want, use varying size beads, and or paint/stain your beads before stringing them. The possibilities are endless.
BEADS:
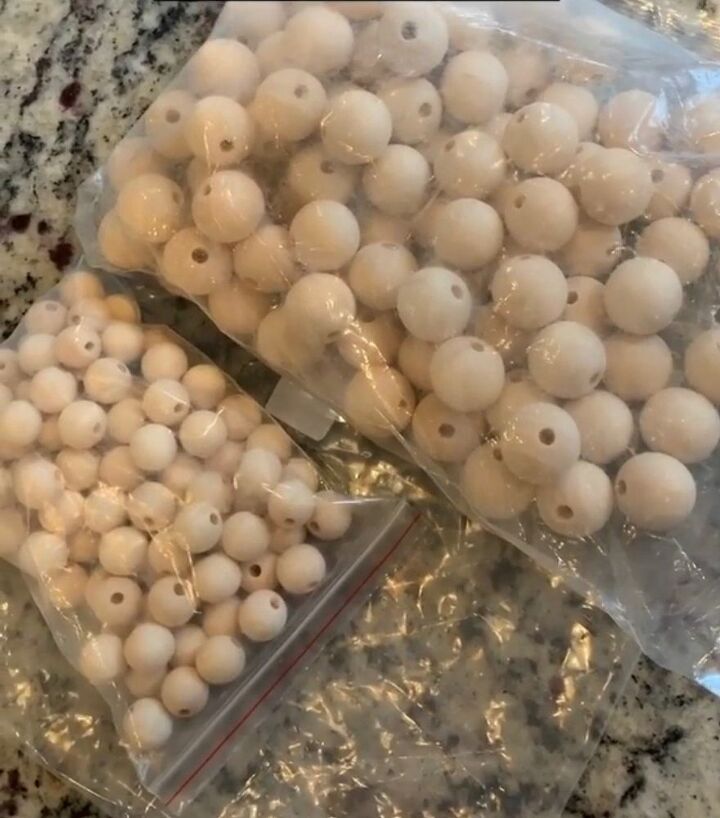
This is a multi size pack of beads ordered on Amazon.